Showing posts with label free. Show all posts

Thursday, 21 May 2015

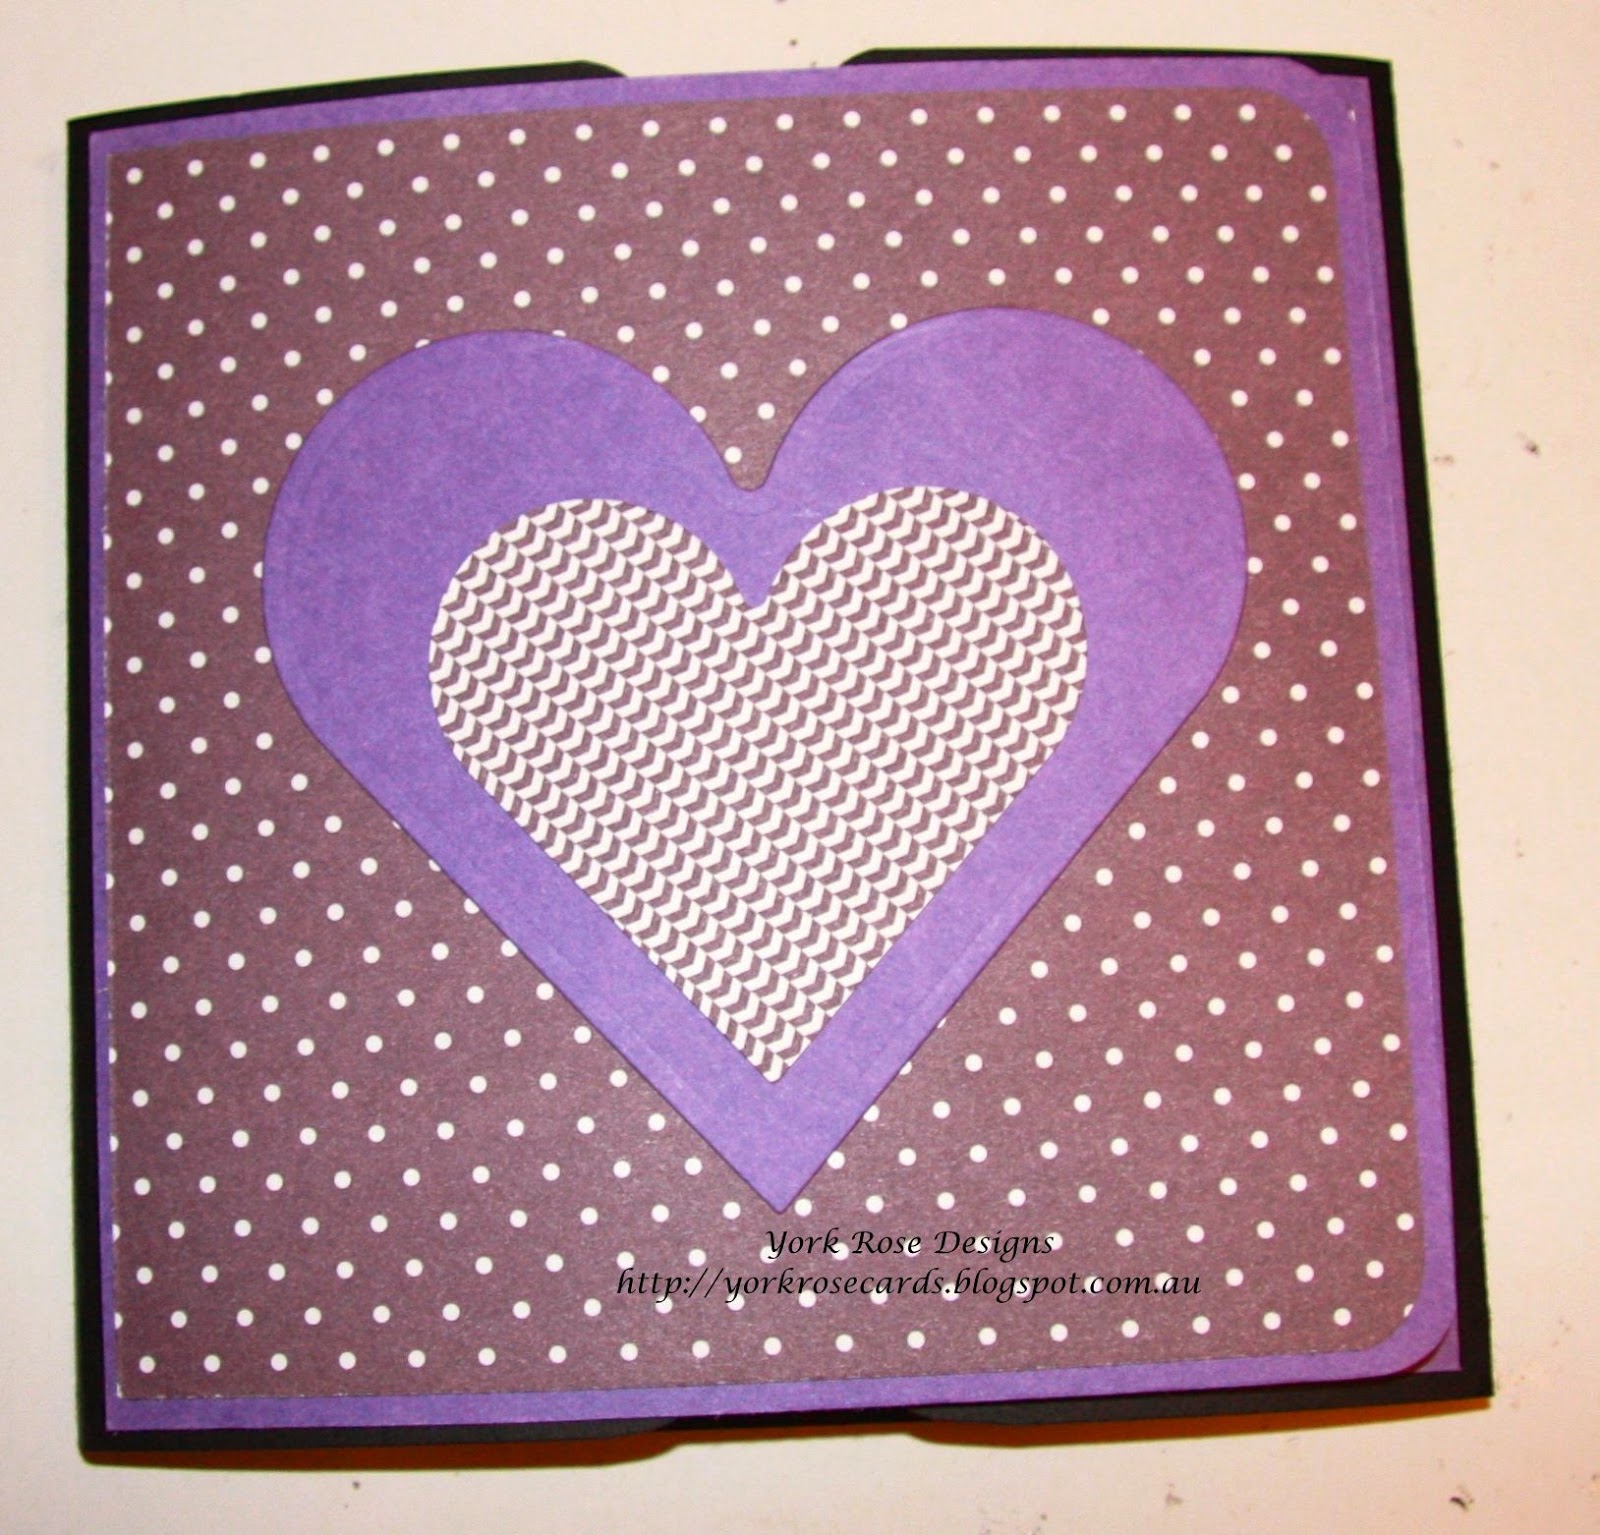
Flip album Tutorial My heart

My Heart Flip Album


This album is an adaptation of the “Gears” album. Tutorial.

I want to show you that there are many ways to decorate and personalize this simple album tutorial.


Friday, 24 April 2015

Heartfelt creations 7" x 7' Butterfly Medley Album. Tutorial part 6

Butterfly Medley Album
Tutorial
Part 6

7” x 7” finished size.
Using Heartfelt Creations Butterfly Medley collection.
Design can be adapted to any 6” x 6” paperpad or cardstock collection.


York Rose Designs ©

Part 6

Final touches. This is where you will be creative and use my ideas for inspiration.

  This is the final tutorial in the series of 6 and I will be showing you how to put the finishing touches to your album. You can follow what I have made, or use my ideas for inspiration and create your own unique style.

Thursday, 23 April 2015

Religious themed card. Free Tutorial


Religious themed card.
Tutorial
This card can be made to celebrate a Christening, Holy Communion or a Confirmation.


York Rose Designs ©
http://yorkrosecards.blogspot.com.au

Tuesday, 21 April 2015

Heartfelt creations 7" x 7' Butterfly Medley Album. Tutorial part 5

Butterfly Medley Album
Tutorial from start to finish

Part 5

7” x 7” finished size.
Using Heartfelt Creations Butterfly Medley collection.
Design can be adapted to any 6” x 6” paperpad or cardstock collection.


York Rose Designs ©

Thursday, 16 April 2015

Heartfelt creations 7" x 7" Butterfly Medley Album Tutorial. Part 4

Heartfelt creations 7" x 7" Butterfly Medley Album Tutorial. Part 4


Butterfly Medley Album
Tutorial from start to finish

Part 4

7” x 7” finished size.
Using Heartfelt Creations Butterfly Medley collection.
Design can be adapted to any 6” x 6” paperpad or cardstock collection.


York Rose Designs ©


Friday, 10 April 2015

Heartfelt creations 7" x 7" Butterfly Medley Album Tutorial. Part 3

Butterfly Medley Album
Tutorial from start to finish

Part 3

7” x 7” finished size.
Using Heartfelt Creations Butterfly Medley collection.
Design can be adapted to any 6” x 6” paperpad or cardstock collection.


York Rose Designs ©
http://yorkrosecards.blogspot.com.au


Wednesday, 8 April 2015

Heartfelt creations 7" x 7" Butterfly Medley Album. Tutorial part 2

Butterfly Medley Album
Tutorial
Part 2
From start to Finish

7” x 7” finished size.
Using Heartfelt Creations Butterfly Medley collection.
Design can be adapted to any 6” x 6” paperpad or cardstock collection.


York Rose Designs ©
http://yorkrosecards.blogspot.com.au


Tuesday, 7 April 2015

Heartfelt creations 7" x 7" Butterfly Medley Album. Tutorial part 1

Butterfly Medley Album
Tutorial
Part 1
From start to finish

7” x 7” finished size.

Using Heartfelt Creations Butterfly Medley collection.

Design can be adapted to any 6” x 6” paperpad or cardstock collection.


York Rose Designs ©
http://yorkrosecards.blogspot.com.au


Saturday, 7 March 2015

Free tutorials.


Free tutorials posted on my blog


Follow me so you don't miss out on my free tutorials. Lot's more ideas coming in the following year. 


Click on the blue icon Follow this blog on networkedblogs.
 Don't miss out

Sunday, 8 February 2015

Gift box tutorial. 4 1/2" x 4 1/2" finished size

Gift box tutorial

Here's a free tutorial on how to make the basic gift box. 


Sunday, 1 February 2015

Tattered Lace "Hearts and Roses" Card Tutorial

Here is another free tutorial on how to make this gorgeous Tattered Lace roses valentine's day card

"Hearts and Roses"

Skill level: Intermediate

Time: Allow 2 hrs so you don't rush

TIP: Gather all your supplies first, then sit down and craft..........

Thursday, 29 January 2015

Queen of Hearts Explosion box tutorial part 2

"Queen of Hearts" Just in time for Valentine's day. Explosion box. Free tutorial part 2

Here is part 2 of the 2 part tutorial on the "Queen of hearts" explosion box. 

Who wouldn't like to receive this full of photo's and personal sentiments on Valentine's day? Or just because you love someone. 

You can make it in their favourite colours, or for a wedding couple. 

The possibilities are endless.


Skill level: Intermediate

Time: No time frame, make at your own pace

Wednesday, 28 January 2015

Queen of Hearts Explosion box tutorial part 1

"Queen of Hearts" Just in time for Valentine's day. Explosion box. Free tutorial part 1


I made this one using 2 colours of card stock and 1 printed paper.  You can vary this in so many ways, but first I will show you how to make the basic explosion box.

Skill level: Intermediate

Time frame: No time frame, make at your own pace.

Monday, 26 January 2015

Flip album tutorial Part 3. Building and embellishing the pages.

Flip album. Free tutorial Part 3. 

Building and embellishing the pages.

"Gears"


Here is part 3 of the 3 part tutorial of the album 'Gears'


Skill: Intermediate
Time: Work at your own pace

Thursday, 22 January 2015

Flip album tutorial Part 2. Matting the Base pages.

Flip album. Free tutorial Part 2. Matting the Base pages.

"Gears" 

Here is the second part in the 'flip' album tutorials.

All instructions will be in inches with cm in brackets

At the end of this tutorial you will have a base album with extra page insert, matted ready to embellish. 
Embellishing, photo matting, tags and more in tutorial 3.


Friday, 16 January 2015

Flip album tutorial Part 1.


Flip album. Free tutorial part 1.
Base pages

"Gears"

This tutorial will give you the base album that you can use any colour way to suit. I have chosen these masculine colours and called this one 'Gears' 

In part 2 I will be adding pages and there will be pockets for notes and tags and extra photo mats.

In part 3 I will be embellishing, making tags and using dies to make the 'Gears' using distress technique.

Now off you go and make the base so you are ready for part 2.


Friday, 9 January 2015

Envelope punch board mini cards and envelope sets. Free tutorial


I made these cute cards with mini envelopes as a thank you gift.
Instructions using the envelope punch board.


Finnished card :  3" x 3" sq
Envelope : 3 3/5" sq

Thursday, 8 January 2015

Envelope Album using "Sweet treats"

Envelope Album using "Sweet treats" 

Have you ever wondered what to do with all those envelopes?
Because I make so many cards, I have lots of envelopes of various sizes.
I just wanted to try something different for me so I made myself a 'challenge'

I decided to make an envelope album.

I used Sweet Treats card stock by Kaiser craft

This is what I did.

 I decided to use the standard 110cm x 220 cm


I cut both ends open 


Scored and folded


Taped


Then cut my mats according to page sizes and started to put it all together


Here's a sample page


I continued building the album and this is the result