My
Heart Flip Album
This album
is an adaptation of the “Gears” album. Tutorial.
I want to
show you that there are many ways to decorate and personalize this simple album
tutorial.
Supplies:
- · Scissors
- · Double sided tape - white
- · Double sided tape - red extra strong.
- · 3 pieces of 12" x 12" card stock. 2 of 1 colour (A) (I used black), 1 of co-ordinating colours. (B) ( I used purple)
- · A cutting/scoring tool with bone score
- · Spellbinders Heart die.
- · Heart punch (whatever you have in your stash)
- · Various co-ordinating papers.
- · Glue stick or wet glue
Instructions:
Back cover:
Make 1.
Cut black card stock 6' x 12". Score at 2 3/4"
and 3". Then rotate and repeat on the other side.
Image’s
in green but cut in black


Fold
along both score lines

Pages:
Cut the black 12" x
12" in to two 5 3/4" x 12" pieces. Score at 3 "
on either end of each piece. Fold with score tool.
All
4 pages should be black

Cut the remaining black 12" x 6" down to 5 3/4" x
12" and score at 3" each end then fold.

These make
up the base pages.
Cover pieces:
Using the purple 12" x 12" card stock cut 4
pieces 5 1/2 " x 5 1/2"
Image
in cream but yours should be purple

Assembling the base album:
Using glue (I used double sided tape around the edges and
glue stick in the middle)

Adhere 3 black folded pages in this order
1,2,3.
All
pages black

Adhere the 12" x 6" black cover to the back of the centre page, ensuring that
the page sits squarely between the inner crease folds of the cover. I used the
red double sided tape and glue stick for extra hold.

Build the front and back covers by sandwiching the 4 (A) pieces
to the cover page (C) colour 2 each side, attach and glue these to the
cover

This is the basis of your album and should look like this.
Your pages should be black and the cover flaps purple.

Follow the
instructions of part 2 of the Gears album to mat your album with
co-ordinating
papers.
This album
does not have the extra pages, and is a basic album to make.
Here is
what I did:


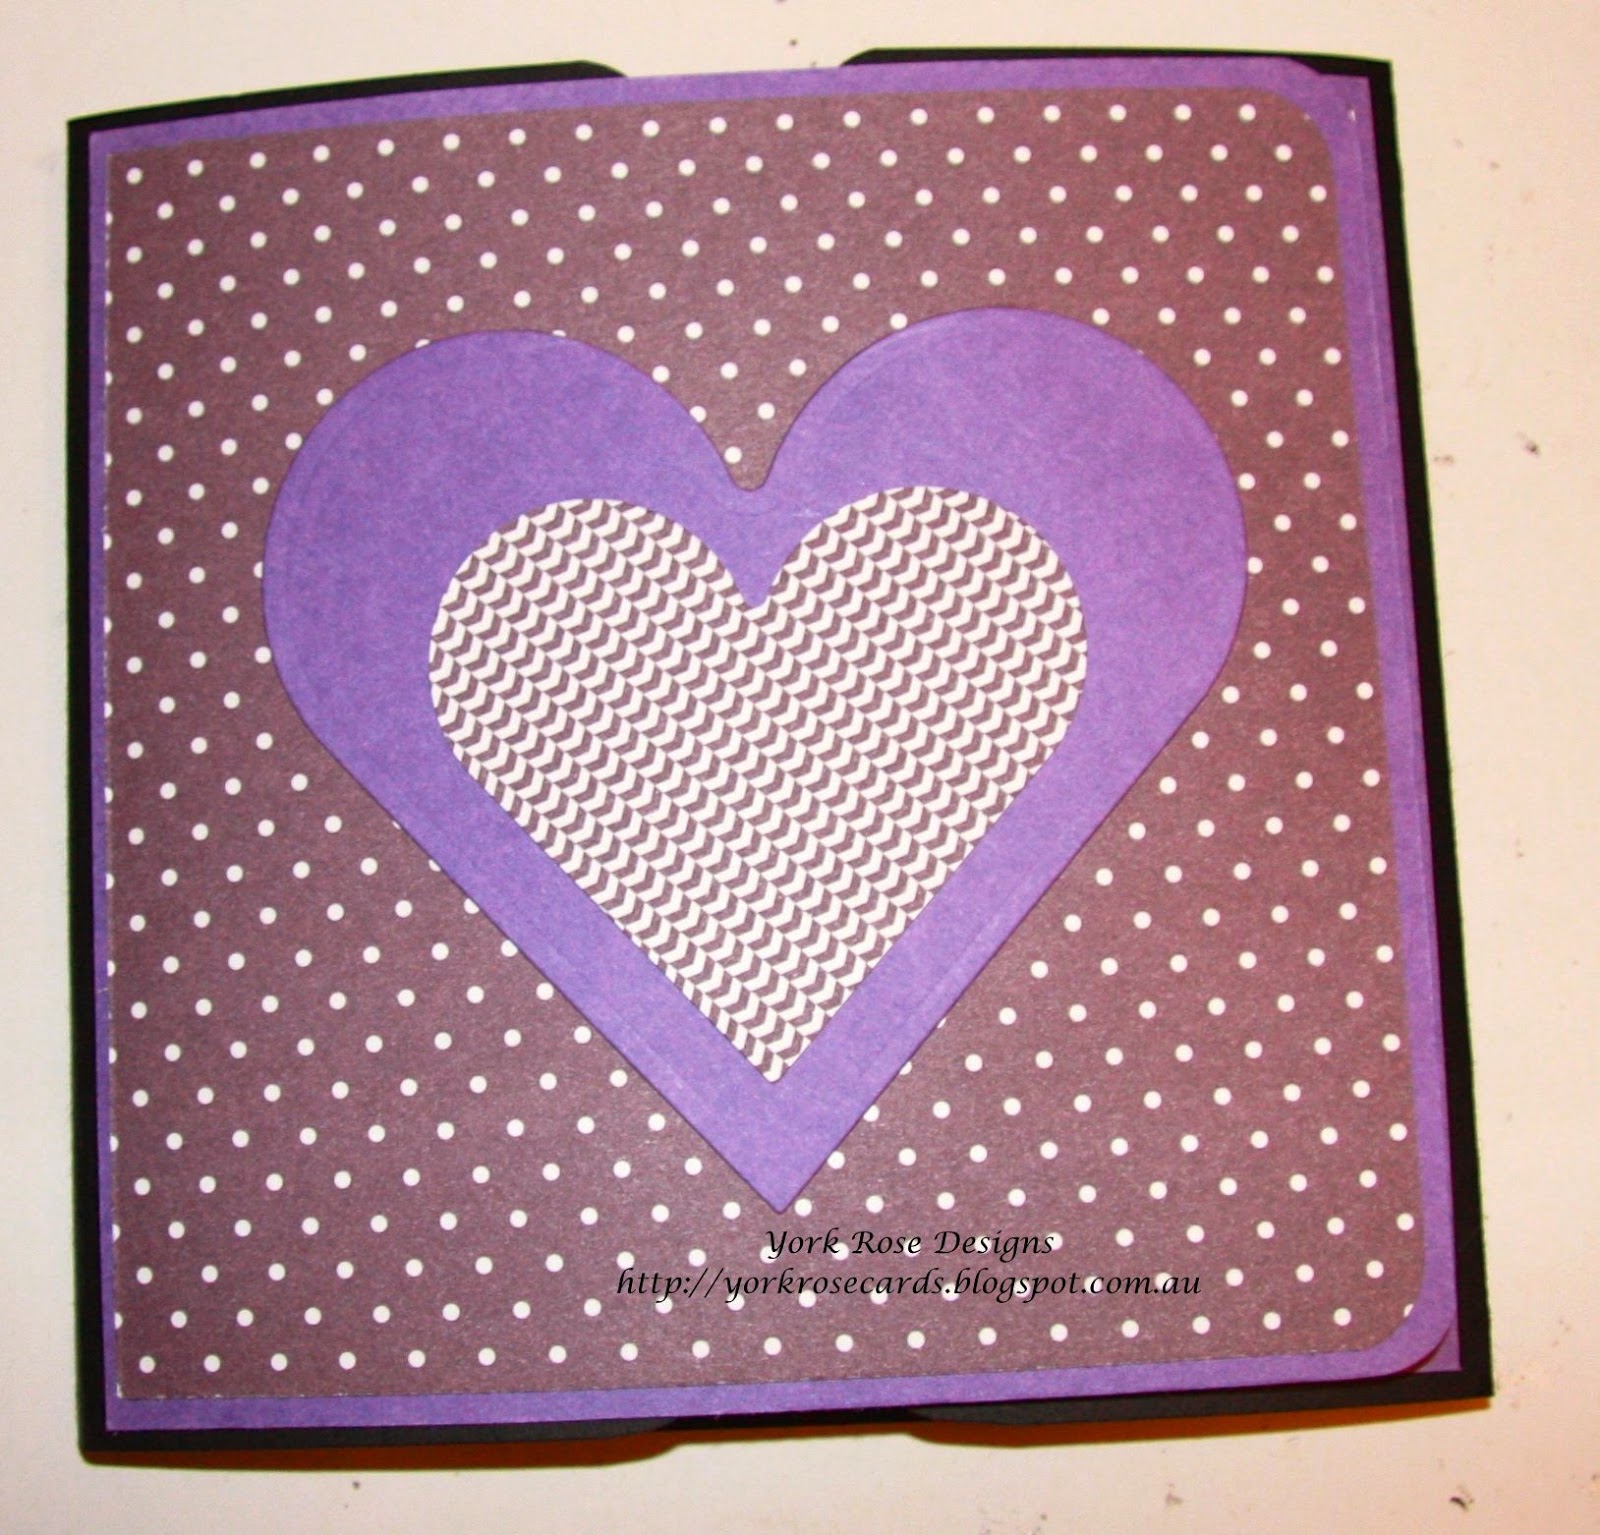
Now to
embellish your album:
I
used spellbinders hearts die and a die punch in my stash.
There
are many available.
I
also purchased some ready made cards from Kaiser crafts with little messages
and places for notes and to attach photo’s.

The
pages were left blank for photo’s.

I
have done several tutorials on how to make envelopes, using envelope punch
board, and flap pockets.


In
this album I have simply punched the flap with a 1 1/2 “ circle punch.

I’ve added
tags and mini pockets and bands.
These
are very simple.
Measure
the width of the page or flap and cut the base card to that width and desired
height.
Then
mat using same principles of matting, ie mat slightly smaller than card stock.
Adhere
using double sided tape.
For
bands run tape at the edges x 2.
For
pockets on 3 sides.

This is
such a simple and versatile album base pattern.
Have a go,
you are only limited by your imagination.
Enjoy
No comments:
Post a Comment